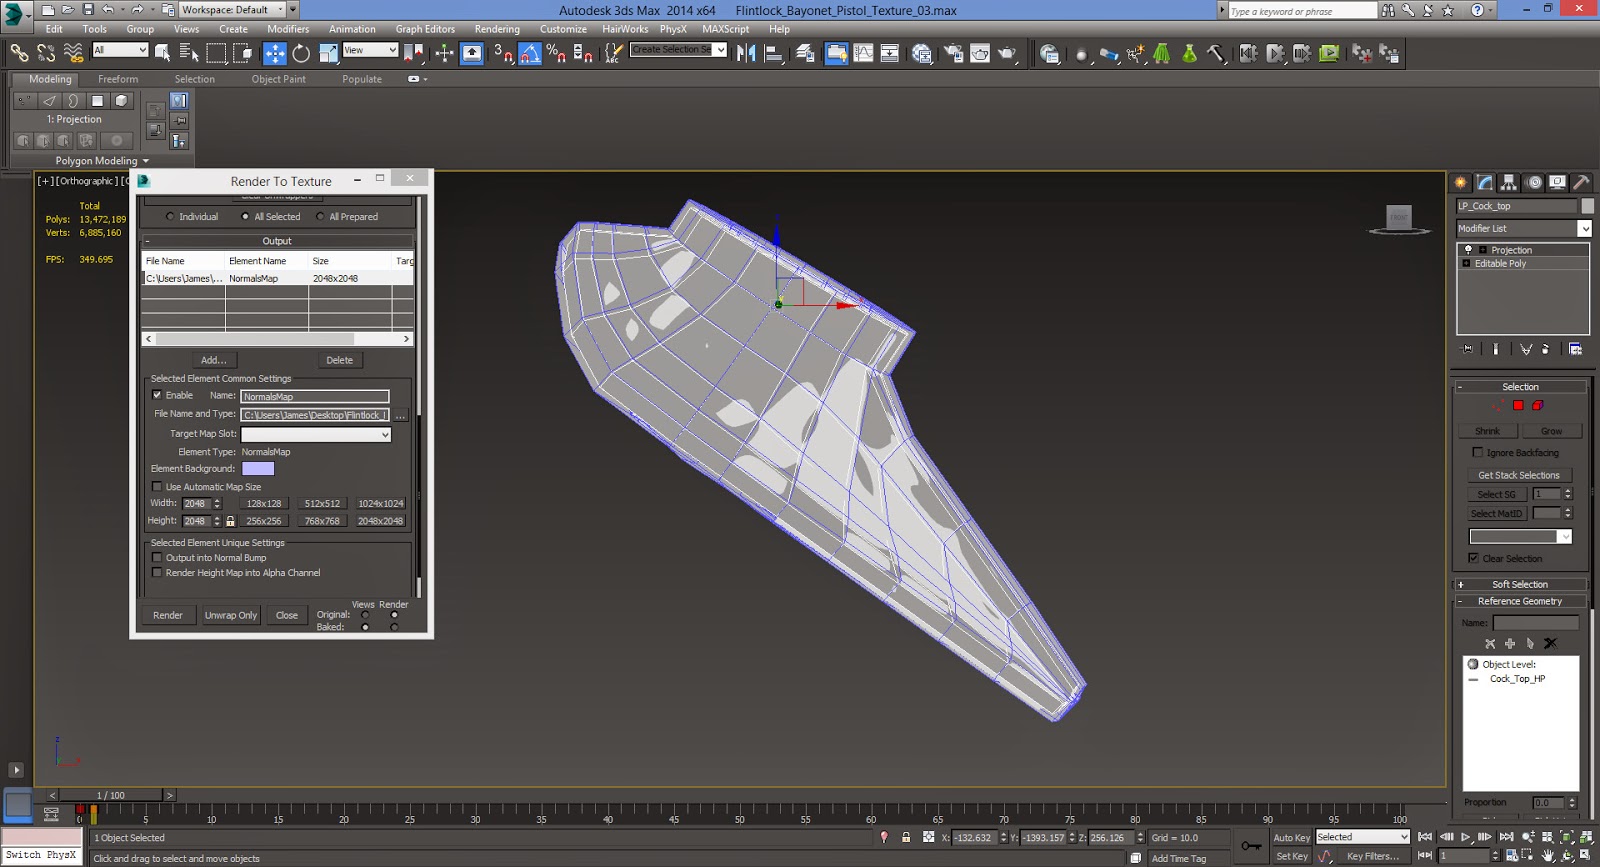
A screenshot of the low poly 'hammer top' with a projection modifier to capture the details of the high poly mesh underneath.
When the low poly topology was done I separated each piece with its high poly counterpart along the animation timeline. This is to prevent shadow artifacts when baking out the ambient occlusion maps, as well as signifying which piece has been completed. Each element was also assigned a unique colour to represent the different materials of the final model. This will be used to bake a colour ID map for texturing in Quixel.

All the parts of the high poly mesh 'exploded' on the animation timeline, and assigned colours based on the materials of the finished design.
At the end all the pieces were combined as one mesh and a Normal, AO, and Colour ID map baked to texture. Finally I used the Normal map to generate a Cavity Map in nDo. These four maps as well as the low poly pistol will be used to create the textures in Quixel.

The final texture maps baked from 3DS Max for use in Quixel.
No comments:
Post a Comment