Pages

Thursday, 12 November 2015

Evil Dead pixel art.

I've been practicing my pixel artwork with a concept piece in the style of a 16bit game, inspired by the Evil Dead films and my recent viewing of the Ash Vs Evil Dead series. My software of choice to work with was Pyxel Edit a great program designed specifically for creating pixel art and animations.

I began by creating a simple tileset to be used within a game engine such as GameMaker or Unity.


Pyxel Edit helps to create symmetrical tilesets with ease that snap together without seams.
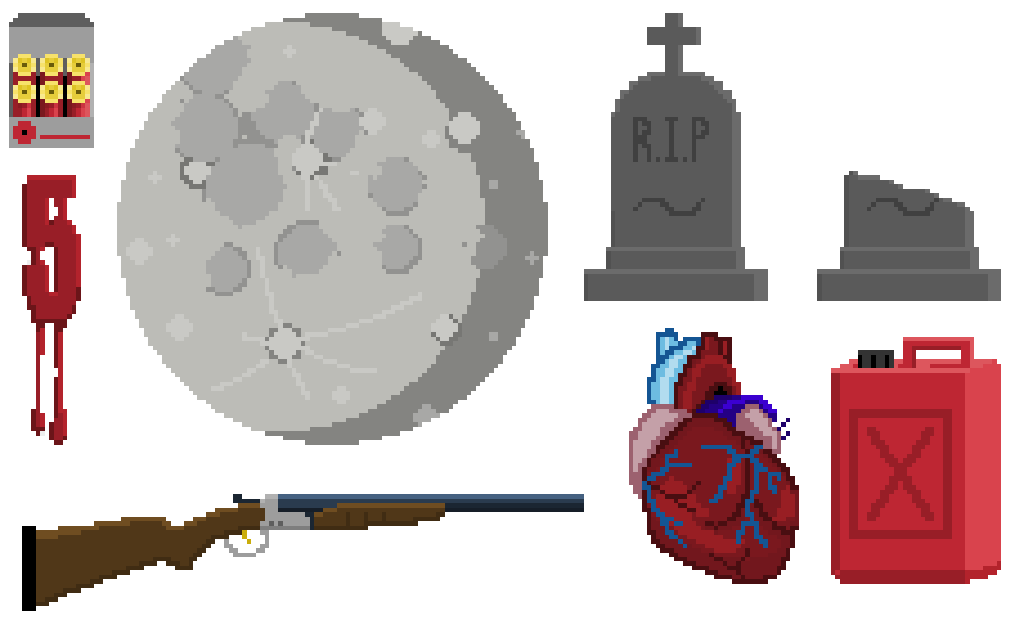


I also created a few assets for the environment and UI elements.


My main character is heavily inspired by Bruce Campbell's character, Ash from the Evil Dead, complete with a chainsaw attachment in place of his hand. He's a little more buff after years of slaying Deadites!


I'm currently working on a few animations such as a walk cycle, and attack animations, but I'm pleased with the progress so far. Pyxel Edit is great for previewing animations as you work and has helped speed up the process compared to Photoshop.


I produced a quick mock-up of how all the elements would look in-game, complete with UI elements and a parallax scrolling background.

I'll continue to work on this project in my spare time and I hope to have a working demo soon!

Thursday, 15 October 2015

Gentleman's Flintlock Pistol, Turntable Render

I wasn't happy with how I'd left the Gentleman's Flintlock Pistol. After a little break I've gone back and added a bit more detail to it before creating a turntable render for my portfolio. I think it's been worth it, and finding out how to add multiple light sources in Marmoset Toolbag has really taken the lighting to the next level. Check out the results below.


Wednesday, 30 September 2015

Game Character clothing.

I've been working on the clothing for my game characters. I took the opportunity to learn Marvelous Designer to help speed up my workflow. I found it pretty intuitive and it helped to create the realistic folds in the different materials I wanted for my character.


Early attempts were pretty basic.


The software was easy to get to grips with and once I'd manipulated the folds and adjusted the material parameters I was happy with the results. I'm still working on the overcoat and a few accessories, but my character is looking very dashing so far, if a little bald! 


I took the mesh into Zbrush to model the embroidery on the waistcoat. I used the character research and designs I created earlier in development to help me.


I created a quick turntable render in max of the high poly mesh. I'm pleased with the results achieved whilst experimenting with Mental-Ray materials and a few patterns from my own texture library. It should be easy to recreate the look once I redo the topology of the model, bake out the maps, and make the customised PBR shaders for UE4.

Friday, 18 September 2015

NASA Tournament Labs Modelling Competition.

So I entered a modelling competition, set up by NASA, to create precision 3D models for use in their EVA simulations, to calculate the movements of the robotic arm aboard the ISS. You can find the competition here. Out of hundreds of entries and ninety-one finalists I came fourth in the first competition...not bad!

 I was praised for the quality of my work which was thanks enough, but congratulations go to the winner, and I can see where he went above and beyond in terms presentation of his work. I really should've done an exploded render of my model to show all the different elements separately. Anyway, here are the images I created.


Saturday, 29 August 2015

Game character, weapon renders.

I've redone this models topology, baked out the maps, and I've just finished the textures in Quixel. Here's some of my latest renders. I created this weapon to be the perfect counter point to the Bayonet Flintlock Pistol I created for the games other main character (see earlier in the blog here) and I think that shows in the craftsmanship of this one.


Thursday, 16 April 2015

Texturing a character's head

I really wanted to cover texture creation in Zbrush, to paint my character heads. I sourced a number of useful skin textures, and facial photographic reference, then imported them into Zbrush. Loading the textures into the Spotlight tool overlays them on top of the model in the viewport. By transforming (scale, rotate, move) both the image and the underlying model it is possible to line up the image with the geometry below. Using a brush tool and painting over the texture projects the colour information onto the model.


I continued to paint each major facial structure, moving the image when necessary to achieve the best fit for my model. To fill any areas of back facing geometry I used a colour spray brush to sample the nearest colour to the unpainted area.


Using different textures can lead to a mosaic effect due to the variation of lighting and skin tones in the images. I used the clone and smudge tools to subtly blend these border areas together.


  The final head looks impressively realistic.

Saturday, 4 April 2015

Gentleman's Flintlock Pistol base mesh

I've begun working on the 'Gentlemans' weapon asset. I wanted this one to be more elegant and refined compared to the 'Bandit's' weapon. I created this in 3DS Max and Zbrush but I still need to work on the textures.